Calibration App Setup#
Use this page to build the RoSHI iOS app and connect it to the receiver.
For the recording workflow, see How to Record Data. For UI details, uploaded files, and troubleshooting, see Calibration App Reference. For calibration math and frame conventions, see Calibration Math.
Source code: RoSHI-App
Requirements#
iPhone or iPad running iOS 17.6+
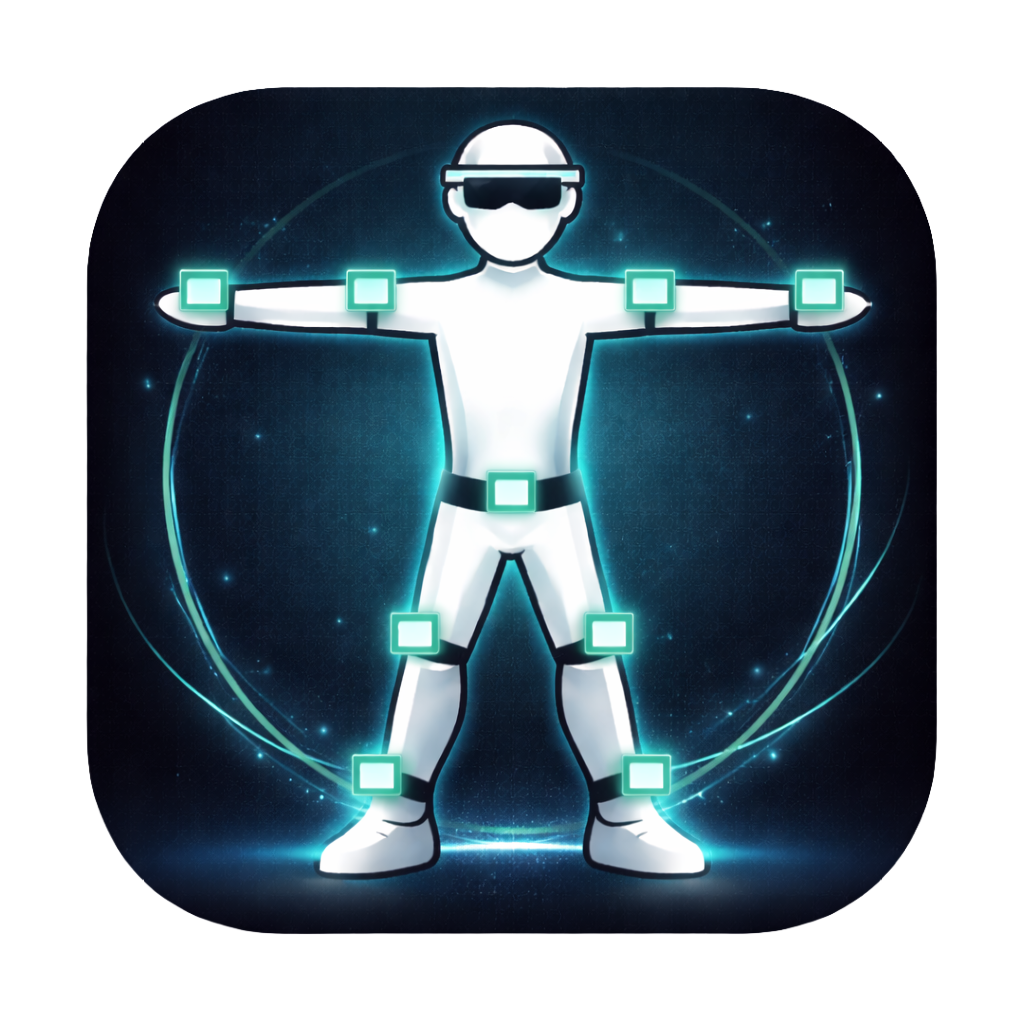
9 AprilTags from the Tag36h11 family, printed at 42 mm
Xcode 15+ with Swift 5.0
A computer on the same LAN to run the receiver
The main RoSHI-MoCap repository for the receiver and downstream calibration pipeline
See Components for the tag ID to body-location mapping.
Build the App#
git clone https://github.com/Jirl-upenn/RoSHI-App.git
cd RoSHI-App
Open
ROSHI.xcodeprojin XcodeIn
Signing & Capabilities, select your Apple Development TeamSelect your target device
Build and run (Cmd+R)
No external Swift packages or CocoaPods are needed; the AprilTag library is vendored as C source.
Run the Receiver#
On your computer (same Wi-Fi network as the iOS device):
git clone https://github.com/Jirl-upenn/RoSHI-MoCap.git
cd RoSHI-MoCap
python 01_receiver.py --output-dir received_recordings
The receiver is part of the main RoSHI-MoCap repository. Start it on the same Wi-Fi network as the iOS device, then enter the IP address and port shown in the receiver terminal into the app.
Useful options:
python 01_receiver.py --port 8080
python 01_receiver.py --output-dir ~/roshi_data